By Jahed Ahmed, Founder, rmvbg 5 min read
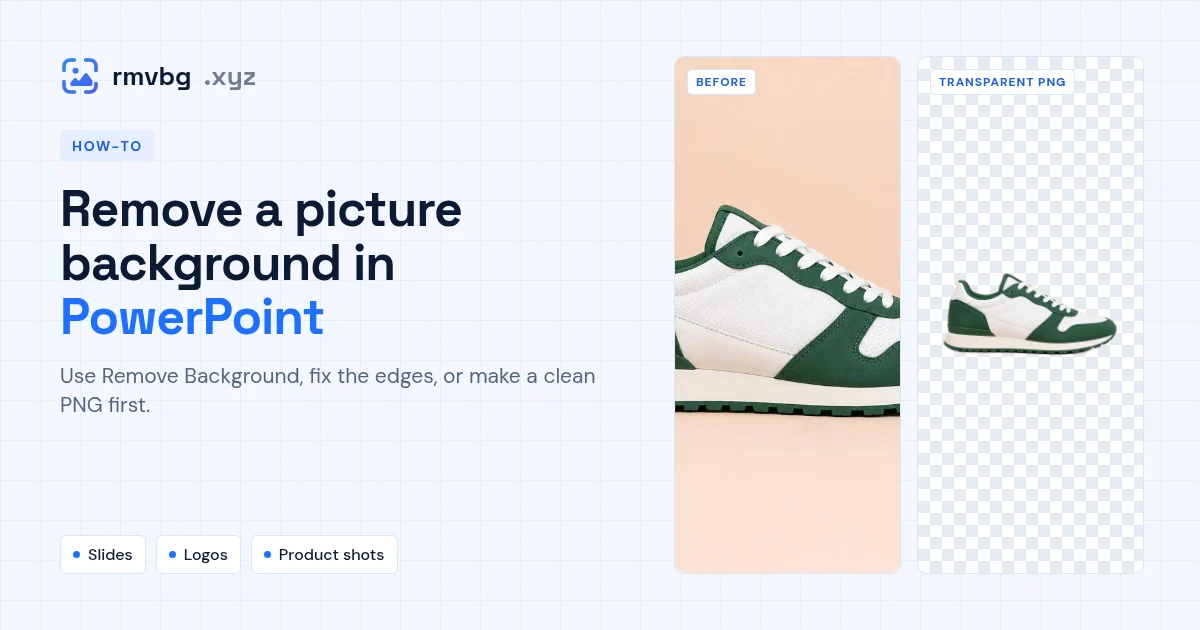
Quick answer
In PowerPoint, click the picture, open Picture Format → Remove Background, use Mark Areas to Keep and Mark Areas to Remove to fix what it got wrong, then press Keep Changes. At the time of writing Microsoft lists this tool for PowerPoint in Microsoft 365, 2024 and 2021 on Windows and Mac. If the edges look rough, or you use PowerPoint on the web, make a transparent PNG with rmvbg first and insert that instead.
Remove a background inside PowerPoint
- Insert the picture and click it once.
- Open the Picture Format tab (in some versions just Format) and choose Remove Background.
- PowerPoint colours the parts it will delete in magenta.
- Use Mark Areas to Keep to draw over parts of the subject that turned magenta, and Mark Areas to Remove for leftover background.
- Press Keep Changes. Right-click the picture → Save as Picture if you want the cut-out as a file.
When the built-in tool struggles
Remove Background works best on a subject with clear edges against a plain background. Hair, shadows, glass and busy backgrounds often need a lot of marking. Microsoft's own help page does not list PowerPoint for the web, so on a Chromebook or a browser-only account you may not see the button at all.
The PNG way (works in every version)
- Open rmvbg and drop in your picture — the background is removed automatically on your device.
- Download the transparent PNG.
- In PowerPoint choose Insert → Pictures and pick the PNG. It sits cleanly on any slide colour.